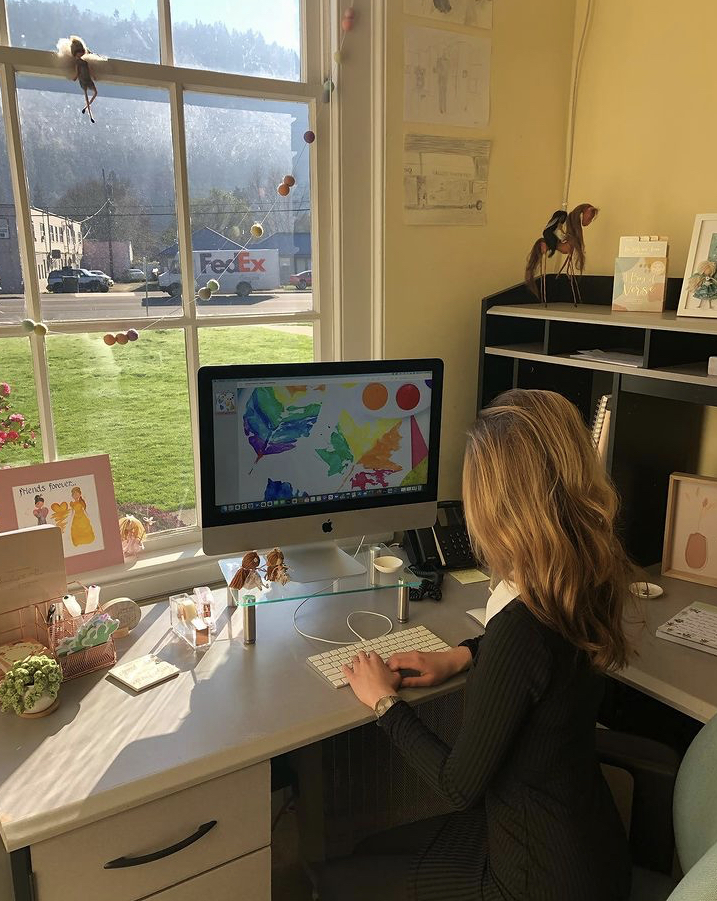
o you wanna be a writer? I did too.
I grew up wanting to be a writer. When I was seventeen, I found writing guidelines for a magazine I enjoyed reading, as well as an article about how the magazine business works. I followed the guidelines, wrote an article, sent it in… and got rejected! But I didn’t give up. I expanded my reach, writing more articles for more publications. Several months later, I finally got to see my name in print. I was a writer!
I still freelance write for many publications to this day. Now that I am an editor, I am contacted by many teens who are following the same path I did at their age. Since I’ve seen both sides of the magazine industry, as both a writer and an editor, I’ve learned a lot over the past several years. I wanted to encourage these young people who are eager to write and get published, but also produce a professional magazine. If you follow these seven steps, you’ll be well on your way to providing editors with content they want to publish, regardless of how old you are when you decided “I want to be a writer!”
Step 1: Find Some Magazines to Write For
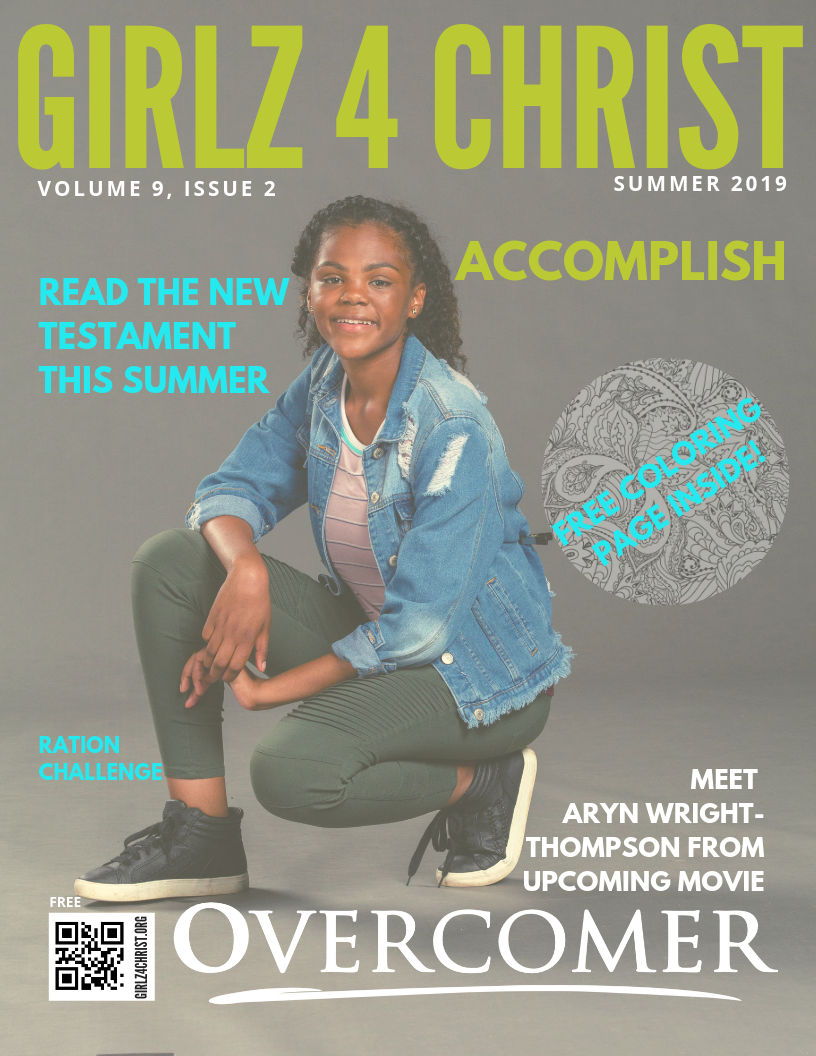
Make a list of magazines that focus on topics you’d be interested in writing about. You want to have several options, and at least some of them should be smaller publications. You can’t expect to have your article accepted into a major national publication, especially on your first try. You may need to do a web search to discover more magazines that you might have a writing interest in.
Get familiar with each publication on your list. Every publication has a unique style and voice that they would like their writers to have. Getting a description of the magazine’s style is not enough; you must read the magazines to get a true feel for their voice.
Many magazines have a sample issue found online. These can be helpful for getting a basic idea of the type of writing they use. It’s best to get a better understanding by reading different sections of the magazine in multiple issues. If you cannot buy the magazines, go to the library to see if they have any copies available. If they’re not at your library, check out a neighboring library. Although you may not be able to check out the magazines, anyone can stay in the library and read them for free. It’s even a common practice for some writers to thumb through an issue inside a bookstore! You could also try borrowing magazines from friends and family. The more recent issues you read, the better. Some magazines change their style over the years, so you want to stay up-to-date.


Step 2: Get Writing Guidelines
Before you get to step two, you should have checked out the websites and social media for all the magazines you want to write for, in an effort to familiarize yourself. Go back to their websites and look around for their writing guidelines. Sometimes, it’s in a tab in the page menu. Often, it’s located in the footer. It may even be hidden in the “About” or “Contact” page. There are times when the guidelines are not readily available online, but they provide instructions on how to obtain them. And there are times when they cannot be found at all. If that’s the case, look at all the contact options, and pick the e-mail address that you think has the best chance of getting a response in the appropriate manner. (The graphic designer won’t know what to tell you regarding writing. On the other hand, an editor-in-chief may lose your e-mail in the hundreds they receive every day, but a department editor can get back to you more easily.)
Some magazines offer a 10-page PDF that explains every last detail of what to write, down to want font to use and whether or not to use an Oxford comma. Other publications make it short and sweet, with nothing more than a word count and where to send the piece. Regardless, read these guidelines- multiple times! While some magazines can be forgiving about certain minor infractions, you don’t want to lose your opportunity to be published over something that could have easily been avoided.
Step 3: Craft Your Article
Once you know what’s expected from you as a writer, it’s time to be a writer and write! If you’re reading this in the first place, you probably enjoy writing because you already know the basics. So we won’t go over grammar and other rules here. However, if you do need some extra assistance with this, take a course or ask for help from a teacher or fellow writer.
Finish your article, and then check it against the writing guidelines. Is your piece within the proper word range? Is it broken down into subsections with appropriate headers? If the magazine requested a certain kind of formatting, did you do that? Do they need a bio line about you?
Also check your basic writing rules to make sure the piece reads clean and professionally. You may have a great point to make, but no one will ever be able to read it if the editor has a hard time finding it among misspellings and errors. For newcomers to the magazine industry, the title “editor” can be misleading. It is not their job to proofread your work; it’s yours. They are more focused on determining whether a piece is suitable for their publication, and possibly adding or cutting parts to better fit.
One major no-no that you don’t want your writing to get involved in is plagiarism. Never copy and paste words from the internet! Most websites have a hidden indicator that you probably never noticed, but an editor will be able to tell with this indicator that it has been copied. If you must use a direct quote, make it brief and include information on where you found it. Even with a research paper, the majority of the content should still be your original work.

Step 4: Submit
If your article is crafted and final-drafted, get ready to send! In the writing guidelines, you may have found deadlines. Many magazines don’t have set deadlines since they continue to publish their magazine year-round and year after year. However, if your article is about current events or has a seasonal slant, or even if it adheres to a magazine issue’s theme, you’ll want to make sure you meet the intended deadline, and a few days early if possible. If there is no established deadline for seasonal material, make sure at least three months in advance.
Check back with the writing guidelines to see if the magazine wants a completed article or a query. A query generally means that they don’t want you to send more content than they have time to manage. Instead, you need to write them a convincing query letter that explains why your article would be ideal for their publication. You’ll only need to send the completed article if they write back asking for it.
If a query is not requested, then send the complete manuscript. But check the guidelines to see if they want you to e-mail the article as an attachment or in the body of the text. Some publications have submission forms on their website. There are even a few magazines still out there that only want to read what you send through snail mail!
Step 5: Practice Patience
After you hit that “send” button, you may hear back from the editor after a few minutes. But more than likely it will be several weeks, or maybe even months, before you hear anything back. Resist the urge to follow up on a daily basis. If the writing guidelines state how long it normally takes for the editors to get back to you, and it’s been longer than that, it may be okay to write a short note asking for the status. But be aware that in most cases, the only thing you’ll get back is a rejection notice. If they really want to use an article, they’ll take the initiative.
Know that getting a rejection letter is not a bad thing. It doesn’t mean you’re a bad writer. In fact, in a lot of cases, the reason for rejection is because of something completely out of your control. They may have written everything in-house, or they may have had a lot of freelance writers who wrote for that particular need. You could even be rejected because the magazine is going out of business! Sure, there may be something you need to change about your article, but don’t automatically assume that it’s bad writing or that you shouldn’t be a writer. Even the best writers have been rejected. Think of it this way: you can only get a rejection letter if you’re a writer!
Whether you receive a rejection letter, or you’re still waiting on the verdict of your article, don’t spend this waiting time idly! Remember that list of publications you’d be interested in writing for? Look up writing guidelines for another one of those and keep yourself busy with a new piece. Realize that if you want to write full-time, you’ll probably be expected to create a new piece every work day. Professionals don’t wait around to hear back about their piece before they write another, and neither should you. You could even submit to the same publication if they have a new theme or deadline coming up.

Step 6: Follow Rules and Follow Up
It can be nerve-wracking to open up a response to your writing. There are several options of what could be inside: they want to use it, they don’t want to use it, or they need certain criteria to be met if they’re going to use it. Again, don’t get discouraged if they can’t use your piece at this time. But don’t respond back to them asking for reasons why they won’t use it, or if they know of a publication that will better appreciate it. Although you may occasionally get pointers, asking for them makes you come across as whiny and unprofessional. Editors are not your personal writing tutors. Just accept the fact that they won’t accept it and move on. Down the line, you may be able to work with them once you have more experience under your belt!
Sometimes you will get an acceptance on spec. This is especially common if you send a query instead of a finished piece, although you may also get this if they request certain edits from you. Writing on spec just means that they aren’t guaranteeing publication at this point. They’ll come to that decision later on. If they did request that you change some things, do so and return your piece in a timely manner. Don’t try to defend that your piece is perfect as-is; the editor knows what’s best for their publication. Virtually all work gets edited anyways, but in this case, you just have the opportunity to provide some extra input!
If you get an acceptance notice, there will probably be some paperwork or some sort of agreement that follows. If you’re getting paid for this, you’ll have to provide personal information so that they can keep their bookkeeping and taxes accurate.
Step 7: See Your Name in Print
Congratulations! If you follow the above six steps, you’re a magazine writer! It will just be a bonus the day you get a copy of a magazine with your name inside.
That day may not come so quickly, though. If you write for a website publication, you may see fast results. But traditional media can take longer- sometimes more than a year. You already practiced patience, and now’s a time to use this skill in practice!
Sometimes, articles end up fitting better in a different issue, so it may not be published in the month you were expecting. When it does go into print, share it with your friends and family! They’ll get to read your work, and you’ll keep a good relationship with the magazine so that you can write for them again!
Now that you have a better idea of how the freelance writing process works, put it into action! How about writing an article for Girlz 4 Christ Magazine? (Start step 1 by signing up for a free subscription!)
If you’d like more personalized training for publication writing with a real magazine editor, consider taking Girlz 4 Christ’s course, “Writing for Publication“. This one-day class can accommodate groups of any size, and every participant will leave with a ready-to-submit article!